Pages

.

Triple Chocolate Crinkle Cookies


It feels like I have not posted a recipe in forever.  It's only been a week, but it was such a busy week with Thanksgiving and everything that it seems like much longer.  Now that Thanksgiving is over, it's time to focus on all things Christmas.  I set up my tree and Christmas decorations yesterday.  Now, I'm debating about putting lights on the outside of the house.  Do you put lights on your house?  What kind and color do you like?  There are so many choices.  I kind of like the big red and white lights.  

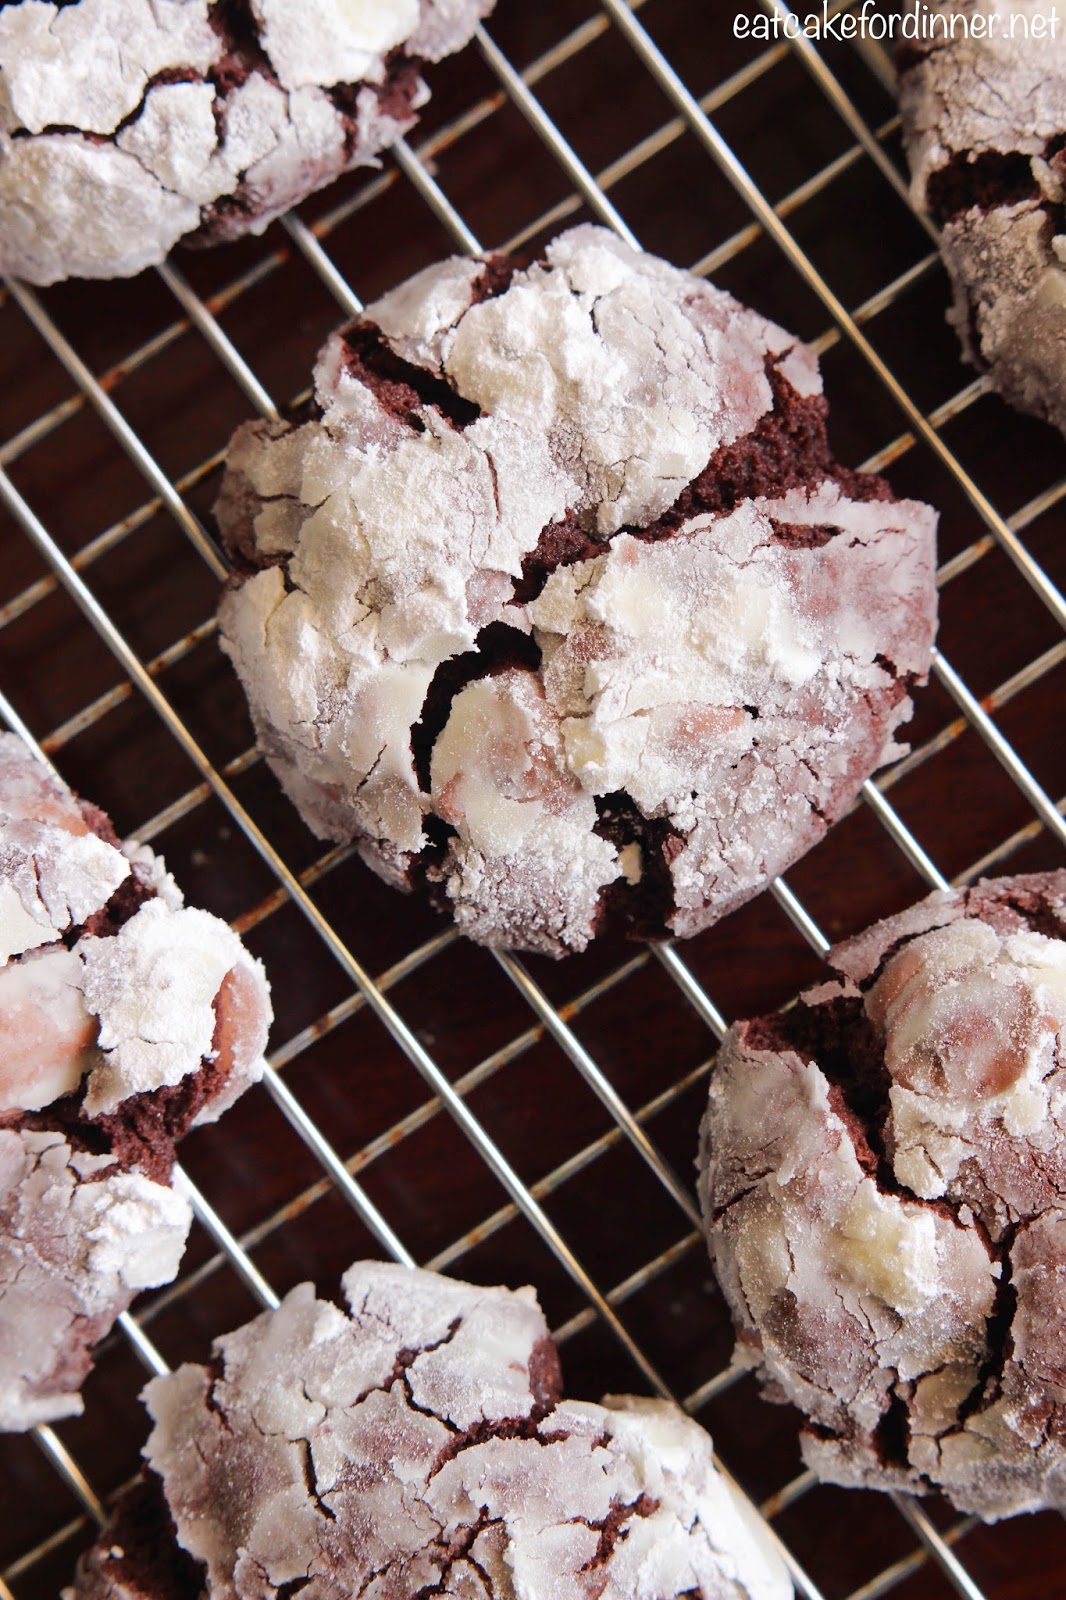
I'd much rather be eating cookies than deciding which lights to buy.  Chocolate Crinkle Cookies are such a classic cookie. I remember eating them when I was a child.  My friend, Shanelle, brought these into work one day and I went home and made them that same night.  I had to share them with my family.  They are amazing.  
EVERY.SINGLE.PERSON. that tried these cookies LOVED them and told me they LOVED them.  That doesn't happen all the time.  Sure, I make a lot of treats that people tell me they like, but everyone RAVED about these cookies.    

I have made many different cake mix cookie recipes, but nothing like this.  The difference is the dough is chilled in this recipe.  Chilling the dough is the secret.  I know it can be a pain to have to wait for the dough to chill, but really, it is well worth the wait. 

They are soft and chewy and loaded with chocolate flavor thanks to the addition of three different types of chocolate (chocolate cake mix, chocolate pudding mix and chocolate chips).  The powdered sugar on the outside makes them extra special and will take you right back to your childhood.  These are guaranteed to be a hit, so make sure to add them to your cookie plates this year.
You might also like:

Triple Chocolate Crinkle Cookies
From: Shanelle S.

1 (15.25 oz.) box Devil's Food Cake Mix
1 (3.9 oz.) box instant Chocolate Fudge Pudding Mix
1/2 c. vegetable or canola oil
2 large eggs
1 (11.5 oz.) bag milk chocolate chips
1/2 c. powdered sugar, for rolling

In a large bowl, combine dry cake mix, dry pudding mix, oil and eggs and mix together until combined.  Stir in the chocolate chips.  Cover and refrigerate dough for at least one hour or up to 24 hours (I usually chill mine overnight).  

Then, form about 1 1/2 - 2 Tablespoons of dough into a ball (dough will be crumbly, so use a little pressure to form it into a ball).  Roll ball into powdered sugar and place onto a greased cookie sheet.  Repeat.  Bake in a preheated 350 degree oven for about 12 minutes.  Remove from oven, cool and serve.  Makes around 31 cookies.     


SaveSaveSaveSaveSaveSaveSaveSave
reade more... Résuméabuiyad

Butterscotch Pudding Pie Bars


We have a walnut tree in the backyard that produces a crazy amount of walnuts.  So, I have been using them in so many different recipes.  This crust recipe comes from my Grandma.  It's the base to one of my family's favorite desserts (some day I'll share it with you), but today, I thought it would pair nicely with some homemade butterscotch pudding.  
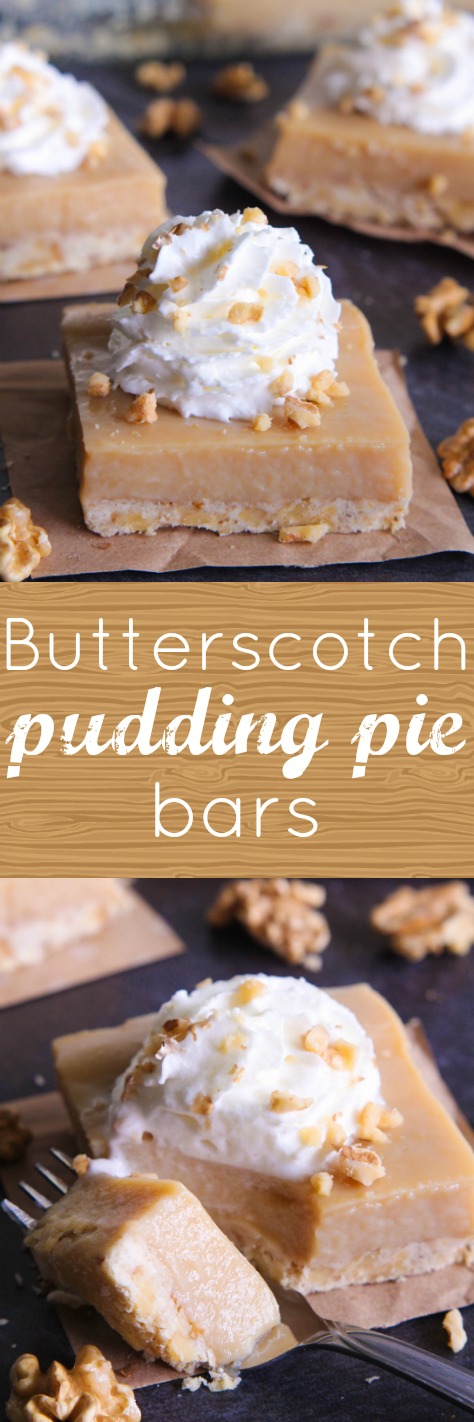
Homemade butterscotch pudding is a little different than making a box of butterscotch pudding.  It's not as vibrant in color and the flavor is a little more mild.  BUT, homemade butterscotch pudding is really delicious.  It tastes like homemade vanilla caramel in pudding form.  The texture is silky smooth and the walnut crust is the perfect base.  The crust does not have any sugar in it and it doesn't need any, because the pudding is sweet enough.  Try these bars topped with whipped cream and chopped walnuts . . . yummy!

 P.S. If you have any good recipes that use walnuts, send them my way.  


Butterscotch Pudding Pie Bars
From: Jenn@eatcakefordinner
(Printable Recipe)

Crust
1 1/4 c. all-purpose flour
1/2 c. (8 Tbl.) cold unsalted butter
3/4 c. chopped walnuts

Butterscotch Pudding
1 1/2 c. brown sugar, packed
1/4 c. + 2 Tbl. cornstarch
1/4 tsp. salt
4 c. milk (I used 1%)
4 large egg yolks
2 Tbl. unsalted butter
2 tsp. vanilla extract

For Serving
whipped cream, opt.
chopped walnuts, opt.

Preheat oven to 350 degrees.  For the Crust: Add the flour to a medium bowl.  Cut the cold butter into the flour until it's the size of peas or smaller.  Stir in the chopped walnuts.  Pour into a greased 9x13-inch pan and press evenly until it covers the bottom of the pan.  It will be very crumbly, but it bakes up perfectly.  Bake for 15 minutes.  Remove from oven and cool completely.

For the Pudding Layer: Add the sugar, cornstarch and salt to a medium saucepan and whisk together until well combined and no lumps of cornstarch remain.  Whisk together milk and egg yolks and gradually whisk into brown sugar mixture and whisk until smooth.  Heat over medium heat until mixture starts to bubble, stirring frequently.  Cook and stir another few minutes or until the mixture has thickened (it's thick enough when it coats the back of a wooden spoon and if you run your finger through it, the line remains and doesn't run back together).  

Remove from heat and stir in the butter and vanilla until the butter has melted.  Mixture should be very smooth and creamy. Pour over cooled crust and spread out evenly.  Cover and refrigerate until mixture is completely chilled, at least two hours.  Slice and serve with whipped cream and chopped walnuts, if desired.  Serves: 12-15.  


SaveSave
reade more... Résuméabuiyad

Copycat Chuck-A-Rama Rolls

Ever since I was a little girl, homemade rolls have been one of my favorite things ever.  I could have lived on bread and rolls while growing up.  After I moved out on my own, I decided to learn how to make homemade rolls by myself.  I made recipe after recipe and discovered rolls are not hard to make.  

With homemade bread, practice really makes perfect.  Just keep trying and you will be a professional bread maker before you know it.
No matter what roll recipe you are making, here are a few tips that will come in handy:

1.  Make sure the yeast gets activated.  If the yeast does not activate, your rolls will not rise.  I always combine the warm water, yeast and sugar in a separate bowl and make sure it bubbles up before adding it to the other ingredients.  I add a little sugar to that mixture, because yeast loves sugar and it helps it to activate.  If the yeast does not get bubbly and frothy, start over.  As far as knowing how warm the water should be, I use THIS tip and have had success since.  Hold your hand under the running water.  You want it to be almost too hot to put your hand in.  

2.  Do NOT add too much flour.  Adding too much flour will turn an amazing soft roll into a dry heavy roll.  Try to add as little flour as possible without the dough being too sticky to handle.  Knowing how much flour to add can be tricky, but the more rolls you make, the easier it will be for you to tell when there is enough.  You can always spray your hands with cooking spray to help shape the rolls and keep the dough from sticking to your hands.

3.  Do NOT over bake.  If you over bake your rolls, they will be dry.  No one wants a dry roll.    
This roll recipe totally reminds me of my favorite Chuck-A-Rama Rolls.  Have you ever been to Chuck-A-Rama?  It's a buffet restaurant located in Utah and Idaho.

I used to love going there when I was a kid.  All you can eat ice cream with sprinkles - oh yeah!!  Then, they all seemed to close down and a hundred years later, they have re-opened and are opening up all over.  My favorite part now, is their rolls (and still the all you can eat ice cream).  They have really really good rolls.  They are huge and soft and buttery and I always let myself eat more than one while I'm there.  Plus, they have cinnamon honey butter that you can smother over those warm rolls.

If you want a really big, soft and buttery roll, then you have got to make this recipe.

You might also like:


Copycat Chuck-A-Rama Rolls
From: Jenn@eatcakefordinner
(Printable Recipe)

1 1/4 c. whole milk
1/2 c. + 1 tsp. sugar
5 Tbl. unsalted butter
1 1/2 tsp. salt
1/4 c. warm water
4 1/2 tsp. active dry yeast
5 c. all-purpose flour
2 large eggs, lightly beaten
2 Tbl. unsalted butter, melted, for brushing on baked rolls

In a medium saucepan over medium-low heat, combine the milk, 1/2 cup sugar, 5 Tablespoons butter and salt. Heat until mixture is warm and butter is melted (it will start to slightly bubble around the edges of the pan), remove from heat and cool to lukewarm (this is important, because if it's too hot, it will kill the yeast).  Meanwhile, in a medium bowl, combine the warm water, 1 teaspoon of sugar and yeast.  Allow to sit for 5 to 10 minutes or until bubbly and frothy.  If the yeast mixture does not get bubbly and frothy, start yeast mixture over.      

Add three cups of flour to the bowl of your stand mixer.  Pour warm milk mixture into the bowl and mix, using the dough hook, until combined, scraping sides of bowl with a rubber spatula as needed.  Add the yeast mixture and beaten eggs and mix until combined.  Gradually add remaining two cups of flour, 1/2 cup at a time, or until dough starts to pull away from the sides of the bowl as you mix.  Dough should still be slightly sticky to the touch.  Don't add too much flour or your rolls will be dry.  You may or may not need the entire 5 cups of flour.

Cover bowl with a towel and allow dough to rise until doubled in size.  When dough has risen, punch down.  Form dough into balls (if it's a little too sticky, spray your hands with cooking spray).  I use about 3 oz. of dough per dough ball.  Place on a large greased sheet pan, spacing 2-3 inches apart.  Cover with a towel and allow to rise for one hour or until doubled in size.

Preheat oven to 400 degrees and bake for 12-13 minutes.  Tent rolls with foil the last few minutes of baking.  The rolls brown pretty quickly, so tenting them with foil is a must.  When done baking, brush with remaining 2 Tablespoons of melted butter.  Makes around 16 large rolls.  
SaveSave
SaveSave
reade more... Résuméabuiyad